Showing posts with label sterilize jars. Show all posts

Friday, 3 February 2012

A bit more handcream.


I've been making handcream again!

I did one batch with my Sis-in-law last week and then another batch today. I now know a bit more about handcream-making (click here for the original post and recipe).

Batch 2
  • To solve the not so perfect and professional (post-stirring) look we tried adding the lavender essential oil to the little containers and pouring the hot mixture on top. Then a quick mix while everything is still quite liquid. This way it cooled down with a smooth top. The downside is that some of the lavender oil probably still evaporates (as essential oil does when too hot), but hopefully not much. We can report that the cream still smelt lavenderish when it was finished!
  • To try and retain some of that lavenderishness we closed the lids of the pots before the cream was cool. This wasn't a good idea as we ended up with some liquid separation. I think it was the aloe vera  gel which was also added while the mix was hot. Perhaps re-melting and mixing again would help. 
Batch 3

  • I couldn't be bothered with the in-the-oven sterilisation process for the glass today. But as I was also using some smaller plastic pots, I used a bigger saucepan and just bunged everything in the hot water letting it boil for a minute or two to get them really clean. Update: Do not sterilise plastic pots in this way! The heat warps them, although impossible to see, when you try to close them the threads don't line up anymore. Very disappointed, I ruined them. Don't make the same mistake!
  • Again I mixed in the aloe vera gel when my mixture was hot. This time I let the cream cool with the jars open. There was still a little separation, but much less than batch 2. I think it's a good idea to add less aloe (so far I've put in a generous splash, might try a stingy one next time!) or to omit it unless I add it  and mix it in when the mixture is cooler...but then I don't get the pretty smooth top...Mmmmm...
  • I was hoping to make some coco lip balm today, but my new glass pots are quite big and swallowed up all my mixture! I will try next time (see updates below!).
Updates:
  • I made another batch, this time using 20 drops of Orange essential oil in about 100g of cream (I mixed it directly in the jar). Smells like chocolate orange! 
  • And I had a tiny bit of the plain mixture left over so I melted in some coconut oil and then tipped it into an emptied out old vaseline jar. Mmmm... It's more of a vaseline type texture because of the extra oil: Please welcome my new Coconut Lip Salve :)

PS. Are you into buying handmade? Yes? Then you should check out the amazing stuff in the Etsy Stock Take. If you sell your craft on Etsy, please come and join in :)


Follow Lifes Jewels on String


Tuesday, 3 January 2012

How to: Homemade Deodorant.

Homemade Deodorant

Recently I have been exploring the idea of producing my own cosmetics. I have some skin issues and a desire to solve them has prompted research into ingredients which help and ingredients that harm.

Type homemade deodorant into google and you will find a million links explaining the dangers of using commercial deodorants as well as how to make your own. I found it a bit overwhelming. In the end I chose the positive over the negative, glossing over the scare-mongering articles and focusing on the recipes. 

The most useful reference I found during the research phase was Passionate Homemaking. I appreciated the experiment that led up to their deodorant recipe, I like the way it organically grew over some time resulting in the final result. I would love to be able to come up with my own products in a similar way (I'll certainly be more thoughtful about my 'making stuff' process in future).


Homemade Deodorant Ingredients

Ingredients (German in brackets):

1 part arrowroot powder (Pfeilwurzelstärke)
1 part bicarbonate of soda (Natron)
3 parts coconut oil (Kokosöl)

What I did:

1. I measured 2tbsp (tablespoons) of arrowroot and 2tbsp of bicarb of soda and plopped them into a bowl.

2. I then added 6tbsp of coconut oil and started working it all together with the back of a spoon.

3. I kept on going for a few minutes until the mixture was homogeneous.

4. Finally I put the whole lot in an upcycled sterilised jam jar

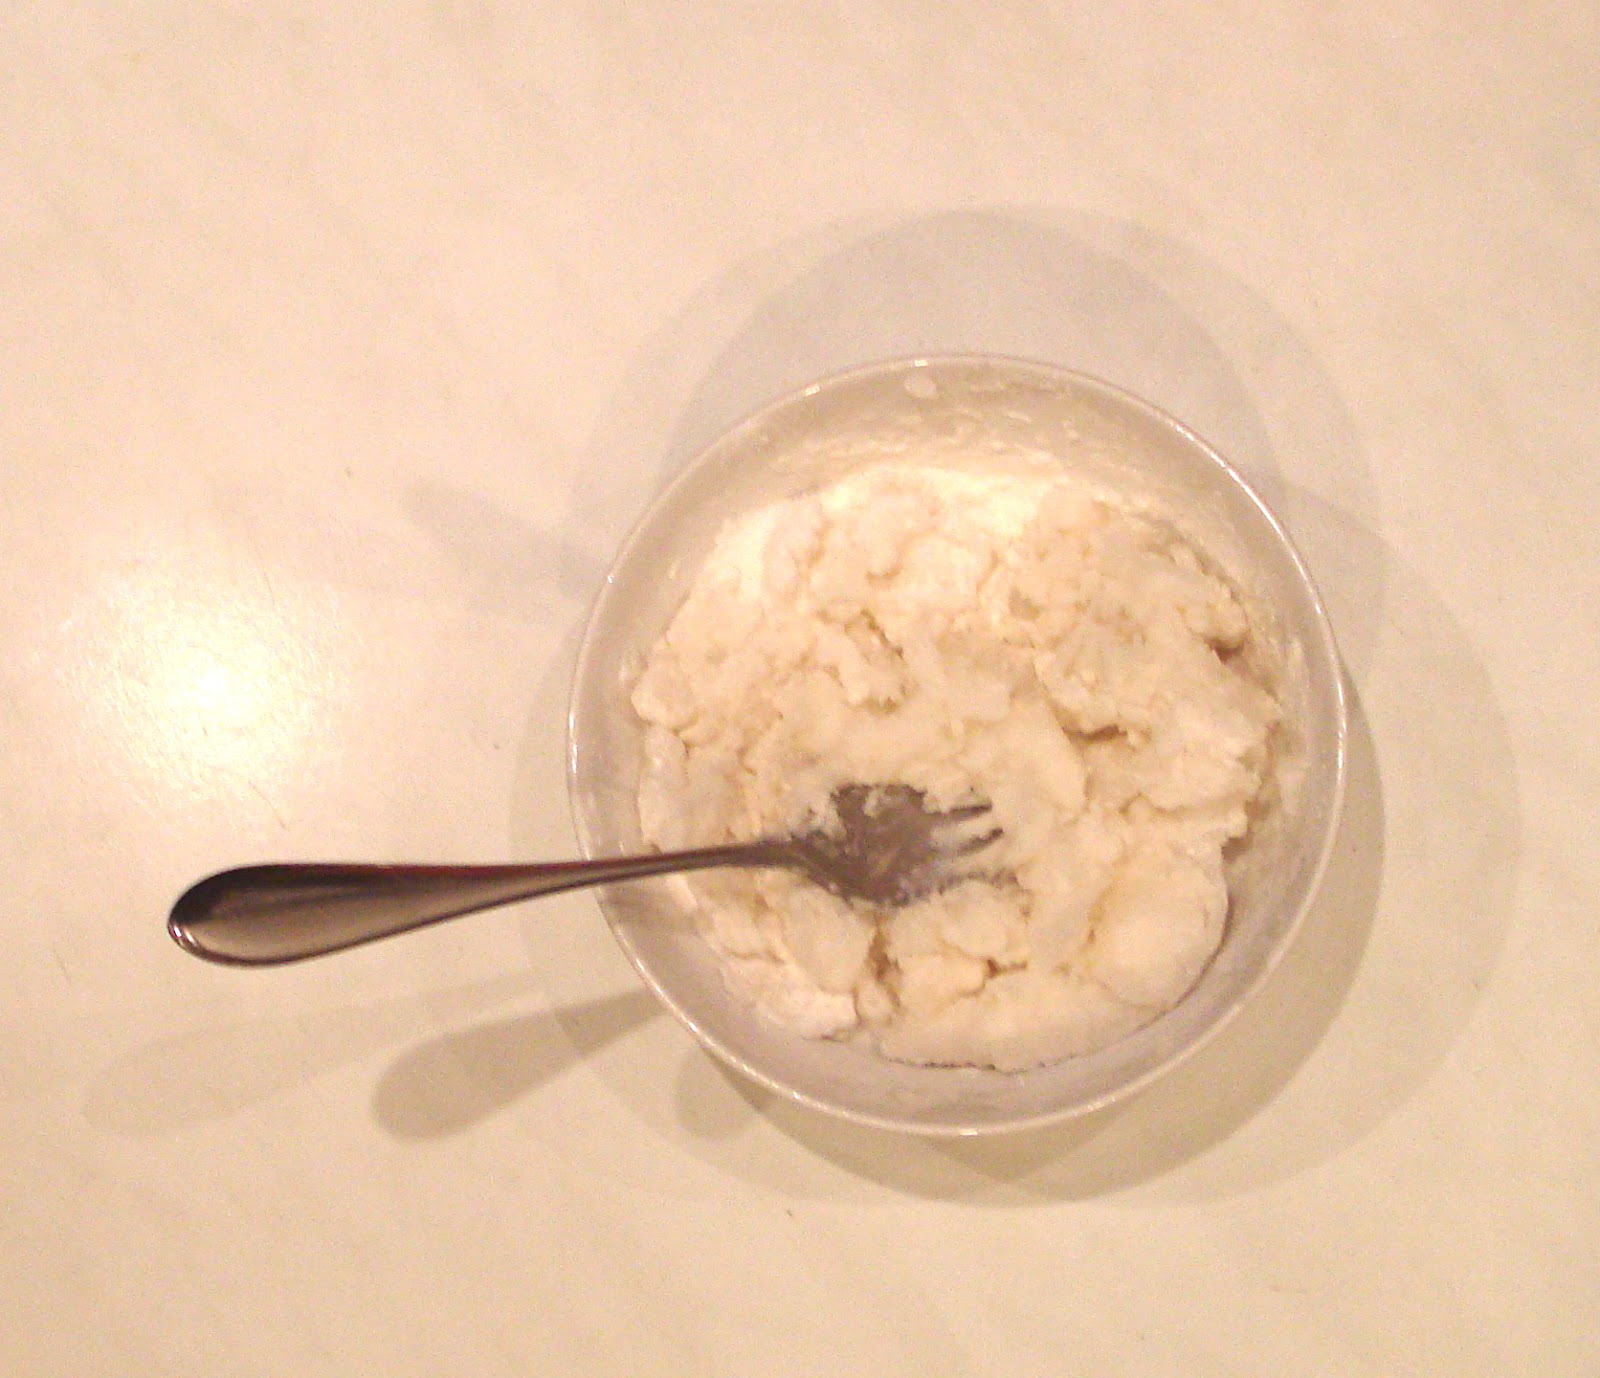
Making homemade deodorant, part way mixed

What I learnt:
  •  I suppose you could add a bit more oil if it's too dry, or a bit more of the dry ingredients (in equal amounts) if it's too wet. 
  • Working the mixture together doesn't work so well with a fork (she says from experience!).
  • Putting the mixture in the jam jar works better with the back of a spoon too. 

The verdict a few days later: 

I've been using my new deodorant exclusively for nearly a week now. 

I like it! 
  • It goes on easily (scrape a bit out of the jar with the back of a fingernail as it melts to the touch of skin).
  • It's a little grainy when you put it on which was initially disappointing, but not a deal breaker.
  • I used to wait for my commercial liquid deodorant to dry, so I do the same with my homemade version, letting it soak in.
  • Doesn't smell strong and holds out all day (even the stressful first day back at work yesterday!).
NB: This is not an antiperspirant deodorant. That doesn't bother me though as antiperspirants didn't seem to work on me anyway!

Update in September:
  • I used this deodorant exclusively for 6 months (January to June) and was very happy with it, having no skin issues the whole time. 
  • Then the weather started to get warmer. And I went back to full time work. And I wimped out a bit! I started to use commercial deodorant for my work days (teaching) and using my coconut deodorant for my off days. This worked a treat.
  • After about 7 months the deodorant started to smell a bit funny and I didn't enjoy using it so much. I threw it out thinking the coconut oil had reached its use by date. Which is a shame, because I still had LOADS left. I've just checked the original coconut oil container and the oil is still good for another 6 months. And the arrowroot powder is good for another year. Maybe I acted prematurely with the throwing out act... Ooops...
  • I will definitely make more of this, but in a smaller quantity so I can use it up before it turns.

Are you gonna give it a try? Got any tips to share?


PS. Are you into buying handmade? Yes? Then you should check out the amazing stuff in the Etsy Stock Take. If you sell your craft on Etsy, please come and join in :)


Follow Lifes Jewels on String

Wednesday, 30 November 2011

How to: Sterilising Jam Jars.


I made hand cream recently and so needed to get my little jam jars squeaky clean. I learnt how to do this a year or so ago when I was making a batch of pickle. I'm happy to say it's very easy to do.

How to:

Wash out your jars well (I got these in the supermarket with jam in them and when we'd eaten the jam decided they were well too cute to get rid of - recycling at home!).
Mine went through the dishwasher (lids too).

Then pre-heat oven on a low setting. I used 100 degrees C.  Don't be tempted to use a high heat because you risk breaking the glass. Rinse jars, making sure they get wet everywhere inside. Pour out remaining water. Pop them in the oven and leave them there to dry out. Then switch of the oven and leave them there till cool.

Done!


What I learnt:

The lids can be tricky to get right in the oven, as some have a plastic seal which can melt and mess everything up (speaking from experience!). To get round that I now pop them in a sauce pan of water and bring to the boil. Let the water boil for a minute or two and then leave to cool.

Voila!


Related Posts Plugin for WordPress, Blogger...