Showing posts with label jam jar. Show all posts

Tuesday, 3 January 2012

How to: Homemade Deodorant.

Homemade Deodorant

Recently I have been exploring the idea of producing my own cosmetics. I have some skin issues and a desire to solve them has prompted research into ingredients which help and ingredients that harm.

Type homemade deodorant into google and you will find a million links explaining the dangers of using commercial deodorants as well as how to make your own. I found it a bit overwhelming. In the end I chose the positive over the negative, glossing over the scare-mongering articles and focusing on the recipes. 

The most useful reference I found during the research phase was Passionate Homemaking. I appreciated the experiment that led up to their deodorant recipe, I like the way it organically grew over some time resulting in the final result. I would love to be able to come up with my own products in a similar way (I'll certainly be more thoughtful about my 'making stuff' process in future).


Homemade Deodorant Ingredients

Ingredients (German in brackets):

1 part arrowroot powder (Pfeilwurzelstärke)
1 part bicarbonate of soda (Natron)
3 parts coconut oil (Kokosöl)

What I did:

1. I measured 2tbsp (tablespoons) of arrowroot and 2tbsp of bicarb of soda and plopped them into a bowl.

2. I then added 6tbsp of coconut oil and started working it all together with the back of a spoon.

3. I kept on going for a few minutes until the mixture was homogeneous.

4. Finally I put the whole lot in an upcycled sterilised jam jar. 
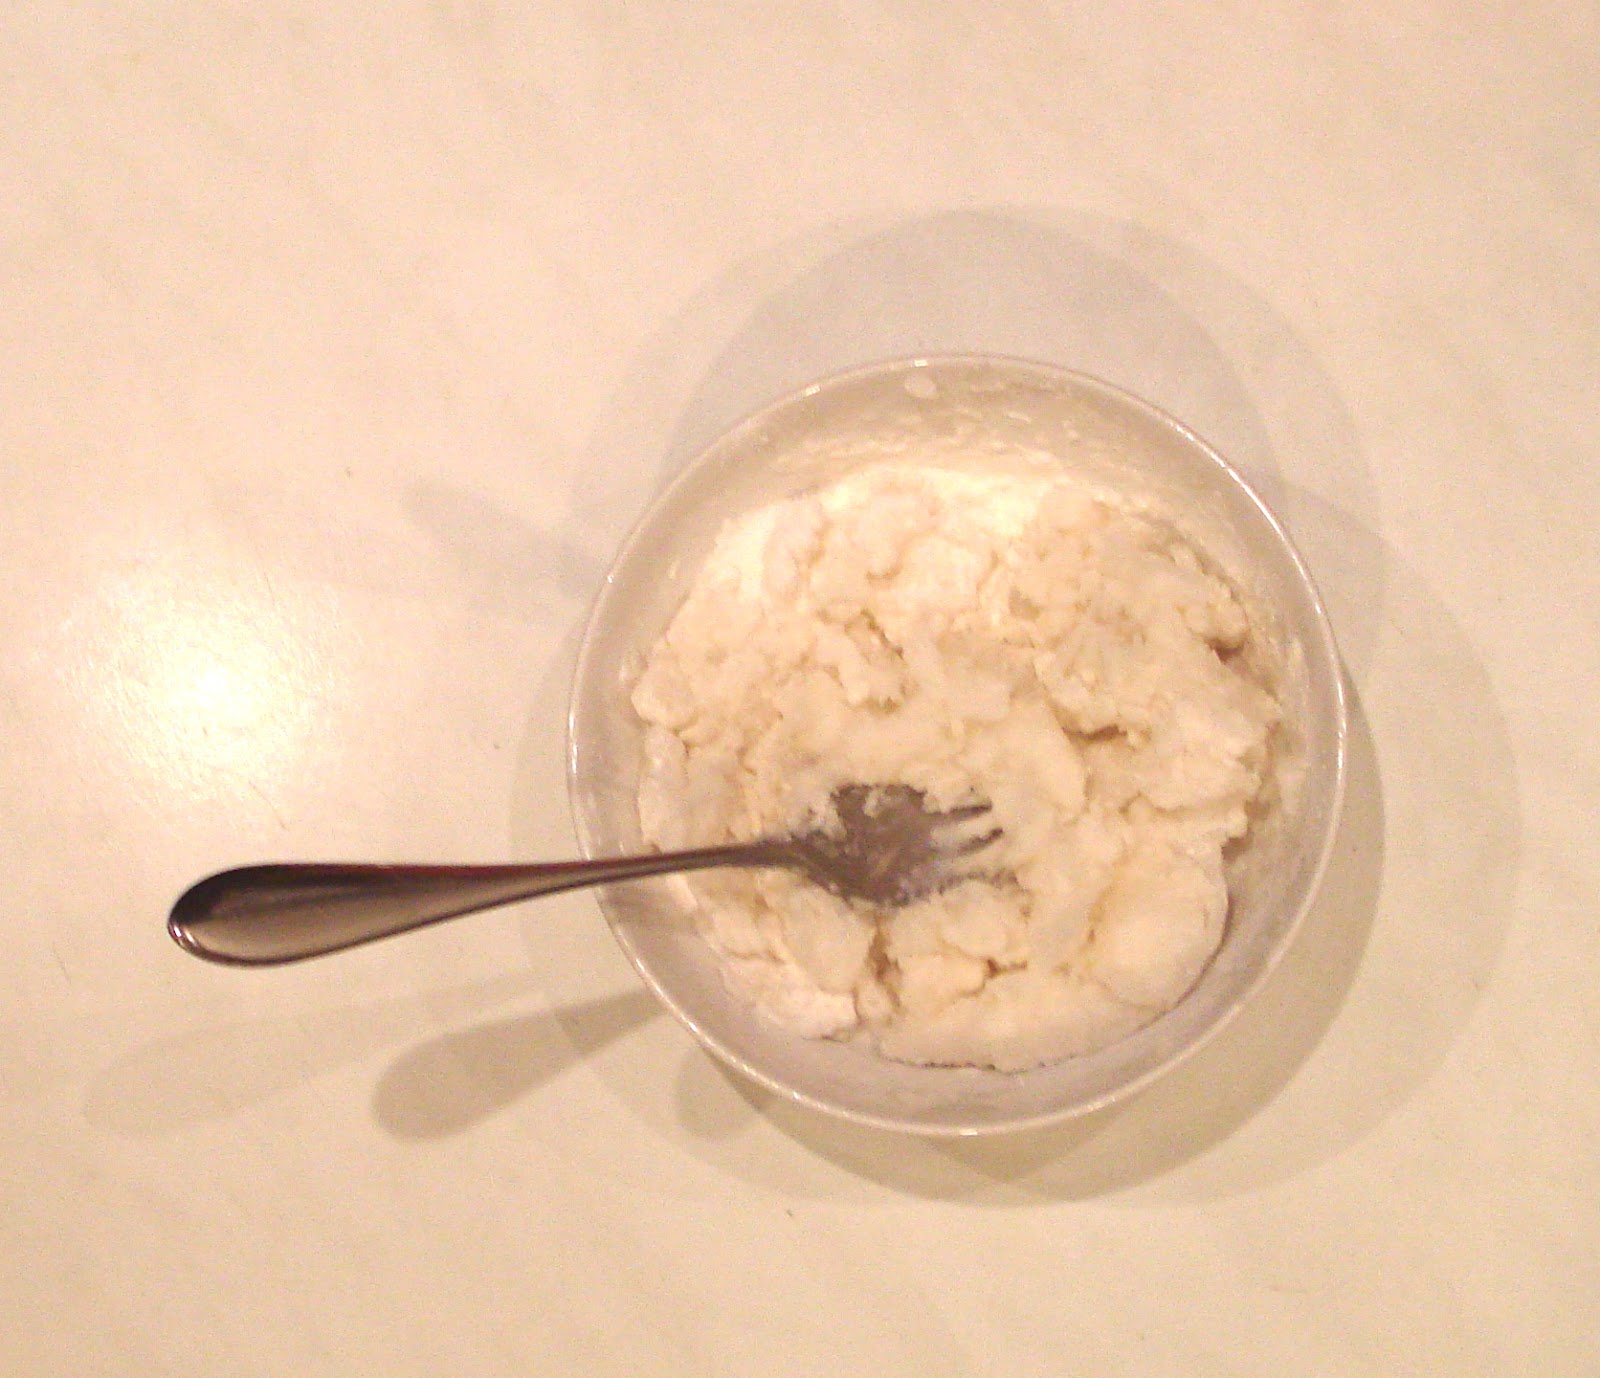
Making homemade deodorant, part way mixed

What I learnt:
  •  I suppose you could add a bit more oil if it's too dry, or a bit more of the dry ingredients (in equal amounts) if it's too wet. 
  • Working the mixture together doesn't work so well with a fork (she says from experience!).
  • Putting the mixture in the jam jar works better with the back of a spoon too. 

The verdict a few days later: 

I've been using my new deodorant exclusively for nearly a week now. 

I like it! 
  • It goes on easily (scrape a bit out of the jar with the back of a fingernail as it melts to the touch of skin).
  • It's a little grainy when you put it on which was initially disappointing, but not a deal breaker.
  • I used to wait for my commercial liquid deodorant to dry, so I do the same with my homemade version, letting it soak in.
  • Doesn't smell strong and holds out all day (even the stressful first day back at work yesterday!).
NB: This is not an antiperspirant deodorant. That doesn't bother me though as antiperspirants didn't seem to work on me anyway!

Update in September:
  • I used this deodorant exclusively for 6 months (January to June) and was very happy with it, having no skin issues the whole time. 
  • Then the weather started to get warmer. And I went back to full time work. And I wimped out a bit! I started to use commercial deodorant for my work days (teaching) and using my coconut deodorant for my off days. This worked a treat.
  • After about 7 months the deodorant started to smell a bit funny and I didn't enjoy using it so much. I threw it out thinking the coconut oil had reached its use by date. Which is a shame, because I still had LOADS left. I've just checked the original coconut oil container and the oil is still good for another 6 months. And the arrowroot powder is good for another year. Maybe I acted prematurely with the throwing out act... Ooops...
  • I will definitely make more of this, but in a smaller quantity so I can use it up before it turns.

Are you gonna give it a try? Got any tips to share?


PS. Are you into buying handmade? Yes? Then you should check out the amazing stuff in the Etsy Stock Take. If you sell your craft on Etsy, please come and join in :)


Follow Lifes Jewels on String

Thursday, 8 December 2011

Making Winter: Twinkle Lights.

I hoard jam jars. I can't help it, I just love them. (They say admitting it is the first step on the road to recovery. We'll see...).

We have a particularly big glut of them at the moment and when I bemoaned the fact that they won't all fit in the cupboard Mr C suggested putting candles in some of them.

Well, of course!

I could go all crafty (it has been known) and decorate each jar, but I think I am really liking the simplicity of them grouped as they are on the window sill.

It does make a winter evening that bit warmer.

Let's join Thrifty Household and Silver Pebble in their making winter better quest.

Wednesday, 30 November 2011

How to: Sterilising Jam Jars.


I made hand cream recently and so needed to get my little jam jars squeaky clean. I learnt how to do this a year or so ago when I was making a batch of pickle. I'm happy to say it's very easy to do.

How to:

Wash out your jars well (I got these in the supermarket with jam in them and when we'd eaten the jam decided they were well too cute to get rid of - recycling at home!).
Mine went through the dishwasher (lids too).

Then pre-heat oven on a low setting. I used 100 degrees C.  Don't be tempted to use a high heat because you risk breaking the glass. Rinse jars, making sure they get wet everywhere inside. Pour out remaining water. Pop them in the oven and leave them there to dry out. Then switch of the oven and leave them there till cool.

Done!


What I learnt:

The lids can be tricky to get right in the oven, as some have a plastic seal which can melt and mess everything up (speaking from experience!). To get round that I now pop them in a sauce pan of water and bring to the boil. Let the water boil for a minute or two and then leave to cool.

Voila!


Monday, 28 November 2011

How to: Handmade Hand and Lip Cream.


For a long time I have wanted to make homemade hand cream. Then a couple of weeks ago I started thinking about this again (cold winter weather was threatening to ruin my hands).

I am so sick of commercial creams, I either don't like the smell, or the texture or my skin doesn't agree with them because I have eczema on my hands. So I decided it was about time to do something about it!

I live in Germany and the most convenient way to get beeswax (a main ingredient) was to shop online with Kosmetikmacherei. 


I would recommend the site as it is easy to use. You choose the item you want, put it in your cart and complete check out with your name and contact details (all in German, no English I'm afraid). They email you an invoice, which you pay with a bank transfer to Austria (although I admit I was hoping to use PayPal).

Then a couple of days later a box arrives in the post - exciting!


Research began:

While waiting for my package I did some research. I found a great list of recipes online and a very informative blog post by A Sonoma Garden.

After some musing and adapting and converting, here's the recipe I came up with:

Basic recipe: 1 part beeswax to 3 parts oil.


 I'm planning on using olive oil this time, but maybe other oils would also work well, like coconut oil for example. I might also add some aloe vera gel and essential oils for added goodness.

I decided to use an egg cup for the measuring as it was far simpler than working out the American Cup equivalents in grams! That way anyone that reads this blog can make cream without any measuring headaches. 

What I did:

This batch = 2 egg cups of beeswax to 6 egg cups of olive oil.


I put the beeswax and olive oil into a big glass jar and put this in a saucepan of water (that came half way up the sides of my jar). I heated this on a medium/low heat until all the beeswax had melted, giving it a couple of good mixes with a fork.


 When completely melted I poured the mixture into little jars which I had sterilised.


 I then left these to cool to room temperature. Oh, they looked so sweet and almost professional! However at this point I wanted to add a splash of aloe vera gel and lavender oil to my cream. So I gave them a good stir to incorporate the new ingredients. 


This is where things started to look less than professional! I will have to try a new batch soon and see if I can get around this. I am wondering why the advice was to add extra ingredients once the cream is room temperature. Maybe I can mix them in to the melted liquid and let it solidify without any stirring? Or is heating the essential oils bad, maybe changing their properties or making them lose their strength?

Results:

I ended up with 5 almost full 50g jars. 

The cream is quite solid, but you can easily get a nice amount on your finger and it melts into the skin like a dream. A minute or so later it is completely absorbed and doesn't leave a greasy feeling. I am rather proud of them and will be gifting them to unsuspecting family members to see what they think. Yay!

Updates:
PS. Are you into buying handmade? Yes? Then you should check out the amazing stuff in the Etsy Stock Take. If you sell your craft on Etsy, please come and join in :)


Follow Lifes Jewels on String
Related Posts Plugin for WordPress, Blogger...